Dear Zeemers!
Before buying your tokens, remember that you must have your wallet created. We advise you to create it in Metamask due to its easy usability. Once you have your wallet and are familiar with its interface, let’s go get those ZeemCoins!
Step 1: Connect your wallet to the dApp
You can acquire your ZeemCoins through our dApp.
1. We access the dApp.
2. We click on the Connect button.
3. Previously, we may have created a specific wallet for operations with ZeemCoins, this depends on you.
4. We verify that we are operating on the Polygon network.
5. We press the wallet icon, we verify if the numbers and letters are the same as those that appear in Metamask.
Step 2: We buy MATIC
To pay for transactions within the dApp we must have an amount of MATIC, since ZeemCoin is on the Polygon network and is its native token. This MATIC will also be used to exchange it for our future ZeemCoins.
1. To buy MATIC we click on the button at the top right “Buy”.
2. We add the quantity we want to buy. (First we will buy MATIC and then exchange it for ZeemCoins)
3. We verify that the wallet that appears is the one to which we want to receive our ZeemCoins.
4. We add our email and verify it with the code that arrives in our inbox.
Step 3: We complete the identification method in Transak
We open a parenthesis to comment that Transak is an integration that we have in our dApp that allows our users to buy/sell crypto on the blockchain through our website. Transak must pass a KYC (Know Your Customer) to comply with existing legislation, so anyone who buys MATIC in this case will go through this process.
1. Once in the Transak tab we will have to add our personal details such as name, surname, phone number, etc.
2. Our browser will ask us for permission to open the camera because Transak will ask us to upload documentation that proves our identity, such as: the front and back of our identification, passport or driving license.
3. We take a photo of our face and complete our email.
4. Once the steps are completed, we will have the KYC (Know Your Customer) completed and an email will have arrived in our inbox with the verification of the process.
Step 4: We exchange MATIC to ZeemCoin
1. We click on the exchange button on the left, a table will open where we can select that we want to exchange MATIC for ZeemCoins. (Not to be confused with WMATIC, that is another token).
2. We add the amount we want to exchange, keep in mind that we will have to have a balance to be able to pay the transaction with MATIC so always leave a few MATIC for future operations.
Ready! We already have our ZeemCoins. We can verify that the exchange has been made in our Metamask and also in the dashboard of our dApp at the top where it says “Wallet”.
Extra verification in Polygonscan
If we want to verify again that the operation has been successful, we can click on our Metamask, click on the operation carried out, click on “Status: View block explorer”, Polygonscan will open, where it shows us the operation in Polygon, we can see How much MATIC did we exchange to ZeemCoins, how much did the transaction cost and the gas.
Step 5: Staking ZeemCoins
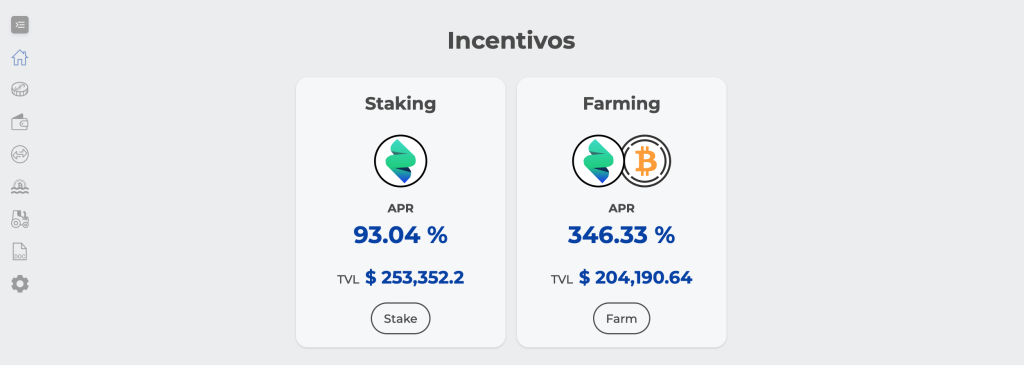
If your goal is to generate passive income, today is a good time to start staking, since our strategy at ZeemGO is to give greater profitability to the people who support us at the beginning of the project.
1. We click on Stake in the dApp Dashboard.
2. We can view the Staking table, where we can add how many ZeemCoins we want to add in Staking.
3. Once the use of ZeemCoins is approved, we return to the Staking table and add the amount of ZeemCoins that we want to move from our Wallet to Stake, we approve and see how it changes in the Dashboard.
We are already Staking, the important thing is to wait a few days and start claiming the new tokens that are generated in the dApp and move them Staking again. If you want to know the status of our token you can check the tables at the bottom of our dApp.
